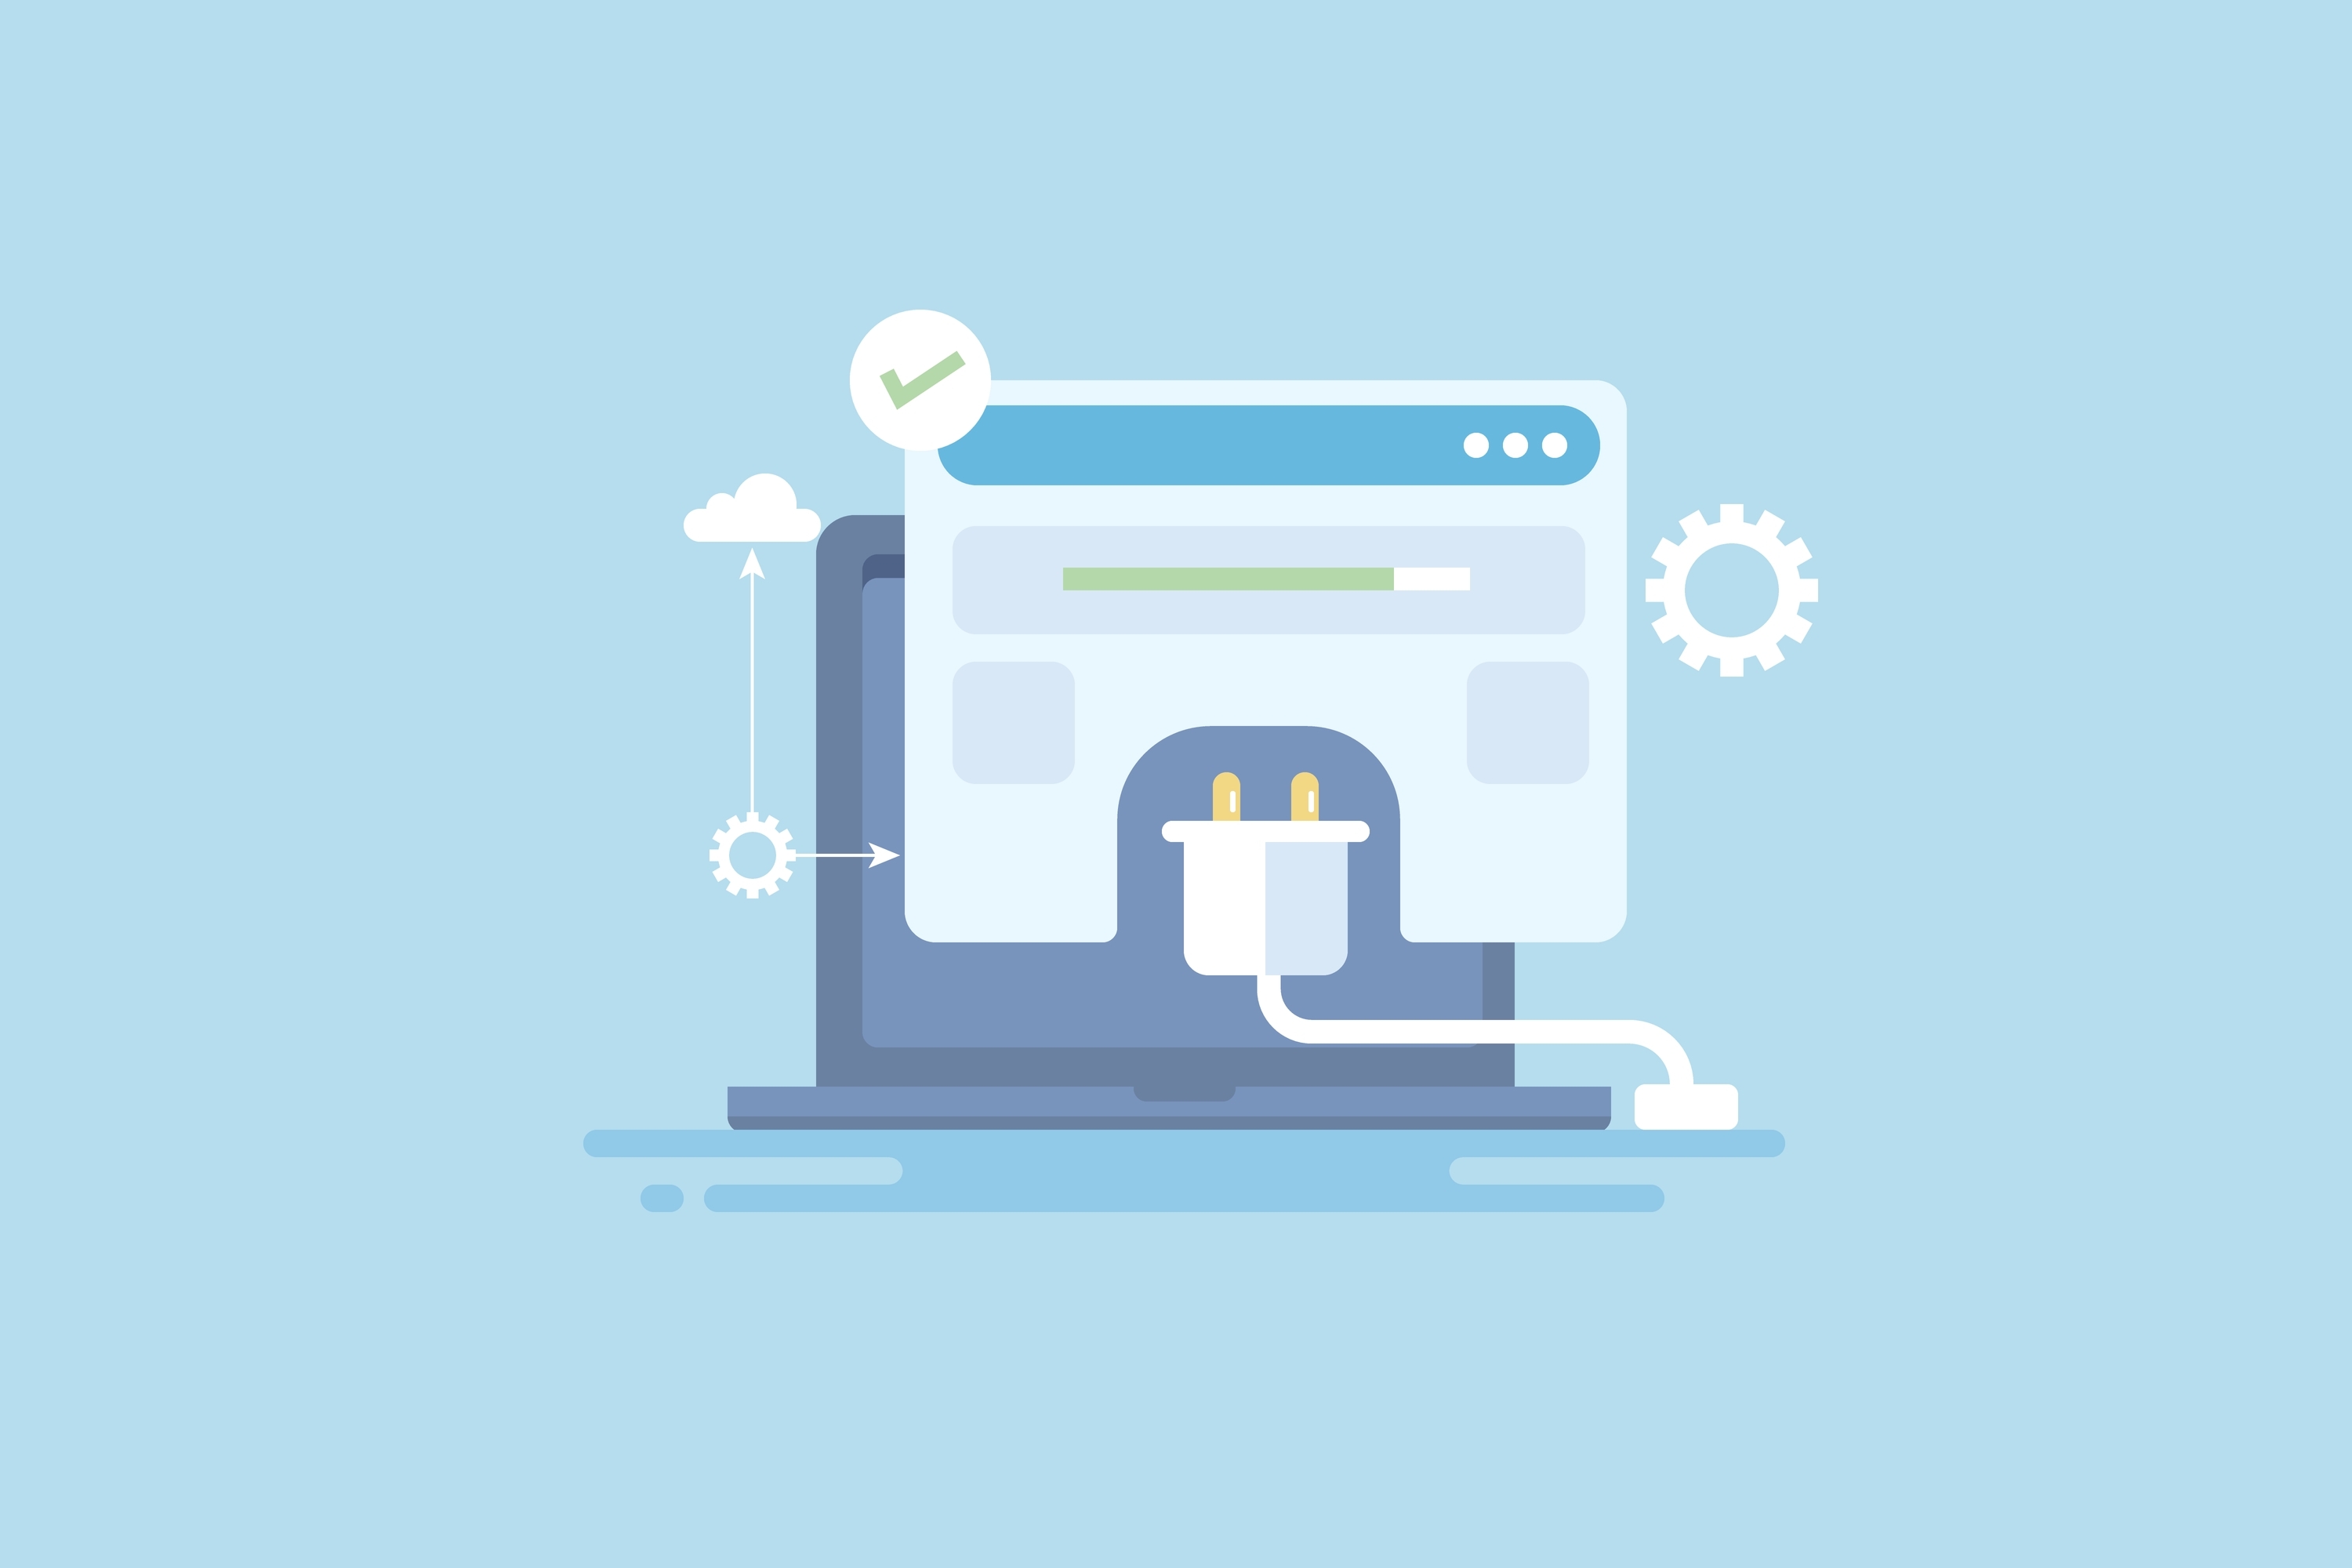
- Introduction
- Understanding WordPress Architecture
- Identifying the Need for Custom Functionality
- Basics of WordPress Plugin Development
- Adding Custom Functionality
- Advanced Plugin Development
- Real-World Example: Custom Order Label Plugin
- Testing and Debugging
- Deployment and Maintenance
- Conclusion
- Additional Resources
Introduction
WordPress is renowned for its flexibility, making it the most popular content management system (CMS) in the world. However, as versatile as WordPress is, there are times when the built-in functionality or available plugins fall short of meeting specific business needs. That’s where custom WordPress plugin development comes in. In this blog post, we’ll explore the ins and outs of building custom functionality in WordPress, showcasing how it can significantly enhance your website’s capabilities. We'll also highlight a real-world example where custom plugin development made a substantial difference for one of our clients.
Understanding WordPress Architecture
Core Concepts
To appreciate the power of custom plugins, it’s essential to understand the architecture of WordPress. The platform consists of a core system, themes, plugins, and widgets. Plugins are pieces of software that extend or add to the functionality of your WordPress site without altering the core files. This modular approach allows for significant customization and enhancement.
Why Custom Plugins?
While there are thousands of pre-built plugins available, they often come with limitations. They may not offer the exact functionality needed, can bloat your site with unnecessary features, or even pose security risks. Custom plugins, on the other hand, are tailored to meet specific requirements, ensuring better performance, security, and user experience.
Identifying the Need for Custom Functionality
Assessing Requirements
The first step in plugin development is identifying the need for custom functionality. This involves a thorough assessment of your requirements. Ask yourself: Are there features that current plugins don’t offer? Do you need to integrate with a specific system or workflow?
Planning the Plugin
Once the need is established, planning begins. This involves gathering requirements, conducting a feasibility analysis, and defining the scope. Clear planning ensures that the development process is smooth and the end product meets all expectations.
Basics of WordPress Plugin Development
Setting Up Your Development Environment
Before diving into coding, set up a proper development environment. This includes a local server setup (like XAMPP or WAMP), a robust code editor (such as Visual Studio Code), and version control (Git).
Plugin Structure
A standard WordPress plugin has a specific file structure:
- Main Plugin File: Contains the plugin header and main code.
- Include Files: Additional files for organizing code.
- Readme.txt: Documentation for your plugin.
Creating a Simple Plugin
Let’s start with a basic example. Create a new folder in the wp-content/plugins directory. Inside this folder, create a PHP file with the following content:
<?php
/*
Plugin Name: Simple Custom Plugin
Description: A simple custom plugin example.
Version: 1.0
Author: Your Name
*/

// Action hook to run a function on plugin activation
register_activation_hook(__FILE__, 'scp_activate');
function scp_activate() {
    // Activation code here
}

// Function to add custom functionality
function scp_custom_function() {
    // Custom code here
}
add_action('init', 'scp_custom_function');
?>
This basic template demonstrates how to structure a plugin and use hooks to add custom functionality.
Adding Custom Functionality
Understanding Hooks and Filters
Hooks are crucial for custom plugin development. Actions and filters allow you to modify or extend WordPress’s behavior. Actions are triggered at specific points in the WordPress lifecycle, while filters modify data before it is rendered or saved.
Commonly Used Hooks
- wp_head: Used to add custom code to the
<head>section of your theme. - init: Triggered after WordPress has finished loading but before any headers are sent. Useful for initialization tasks.
- admin_menu: Allows you to add items to the WordPress admin menu.
- wp_enqueue_scripts: Used to enqueue scripts and styles.
Commonly Used Filters
- the_content: Used to modify the content of a post before it is displayed.
- the_title: Allows you to filter the title of a post or page.
- wp_nav_menu_items: Used to modify navigation menu items.
Example Use Case: Adding Custom Code to the Head Section
add_action('wp_head', 'add_custom_code_to_head');
function add_custom_code_to_head() {
    echo '<meta name="custom-meta" content="Custom Content">';
}
Custom Widgets and Shortcodes
Widgets and shortcodes are another way to add functionality. Creating custom widgets allows for enhanced interactivity in sidebars and other widgetized areas. Shortcodes enable users to embed custom content within posts and pages easily.
Benefits of Widgets and Shortcodes
- Widgets: Enhance the user experience by adding interactive elements to sidebars, footers, and other widgetized areas.
- Shortcodes: Allow non-technical users to insert complex functionality into posts and pages with simple codes.
Example: Creating a Custom Widget
class Custom_Widget extends WP_Widget {
    function __construct() {
        parent::__construct(
            'custom_widget',
            __('Custom Widget', 'text_domain'),
            array('description' => __('A Custom Widget', 'text_domain'))
        );
    }

    public function widget($args, $instance) {
        echo $args['before_widget'];
        echo __('Hello, World!', 'text_domain');
        echo $args['after_widget'];
    }
}

function register_custom_widget() {
    register_widget('Custom_Widget');
}
add_action('widgets_init', 'register_custom_widget');
Example: Creating a Custom Shortcode
function custom_shortcode_function($atts) {
    return '<p>This is custom content inserted by a shortcode.</p>';
}
add_shortcode('custom_shortcode', 'custom_shortcode_function');
Advanced Plugin Development
Interacting with the WordPress Database
Custom plugins often require database interactions. WordPress provides the $wpdb class for safe database operations. Here’s an example of a database query:
global $wpdb;
$results = $wpdb->get_results("SELECT * FROM {$wpdb->prefix}custom_table WHERE condition = value");
Creating Admin Pages
Adding custom settings pages to the WordPress admin dashboard can significantly enhance user control over the plugin. Use the WordPress Settings API to manage plugin settings effectively.
Security Best Practices
Security is paramount in plugin development. Here are some key practices to follow:
Sanitization and Validation
- Sanitize: Cleans input data to ensure it is safe and free from malicious code. Example:
$safe_text = sanitize_text_field($input_text);
- Validate: Ensures data meets specific criteria before processing. Example:
if (!filter_var($email, FILTER_VALIDATE_EMAIL)) {
    // Handle invalid email
}
Nonces
Nonces are used to verify that a request to perform an action comes from a valid source. They help protect against Cross-Site Request Forgery (CSRF) attacks. Example:
// Create a nonce
$nonce = wp_create_nonce('my_nonce_action');

// Verify a nonce
if (!wp_verify_nonce($_POST['nonce'], 'my_nonce_action')) {
    die('Security check failed');
}
Other Security Measures
- Escape Output: Use escaping functions to prevent XSS attacks when outputting data. Example:
echo esc_html($data);
- Use Prepared Statements: When interacting with the database, always use prepared statements to prevent SQL injection.
$wpdb->query($wpdb->prepare("SELECT * FROM {$wpdb->prefix}custom_table WHERE id = %d", $id));
Real-World Example: Custom Order Label Plugin
Client Requirement
A client approached us with a need for a custom plugin to create labels for each order. The plugin needed to:
- Allow the admin to select an order and generate labels.
- Create labels for each product in the order, accommodating various product attributes such as color and bundled products.
- Ensure compatibility with a specific 1"x2" label printer.
Solution Development
Step 1: Order Selection
We added a custom action in the admin order page, enabling the admin to select an order and generate labels.
Step 2: Label Generation
The plugin iterates through each product in the order and generates a label containing essential information, such as product name, attributes, and order details. Here’s a simplified version of the code:
function generate_order_labels($order_id) {
    $order = wc_get_order($order_id);
    foreach ($order->get_items() as $item_id => $item) {
        $product = $item->get_product();
        $label_content = sprintf(
            "Product: %s\nColor: %s\nQuantity: %d",
            $product->get_name(),
            $item->get_meta('color'),
            $item->get_quantity()
        );
        // Code to generate and print the label
    }
}
Step 3: Printer Compatibility
We ensured the labels were designed to fit the 1"x2" dimensions of the client’s label printer, using CSS and JavaScript to format the output correctly.
Outcome
The custom plugin streamlined the client’s order fulfillment process, significantly reducing the time needed to prepare orders and enhancing the overall customer experience by providing clear and organized labels.
Testing and Debugging
Importance of Testing
Testing is crucial for custom plugins. Always start testing in a local environment to ensure that any issues can be resolved without affecting a live site. Different types of testing include:
- Unit Testing: Testing individual components or functions.
- Integration Testing: Ensuring that different parts of the plugin work together.
- End-to-End Testing: Testing the entire workflow from start to finish.
Debugging Techniques
Use tools like WP_DEBUG and log_errors to identify and resolve issues. Enable debugging in your wp-config.php file:
define('WP_DEBUG', true);
define('WP_DEBUG_LOG', true);
define('WP_DEBUG_DISPLAY', false);
Common debugging methods include:
- Checking Error Logs: Review the
debug.logfile in thewp-contentdirectory for errors. - Using Breakpoints: Set breakpoints in your code to pause execution and inspect variables and states.
- Conflict Testing: Deactivate other plugins and switch to a default theme to rule out conflicts.
Common Errors and Solutions
- Syntax Errors: Often caused by missing semicolons, parentheses, or brackets.
- Undefined Function or Variable: Ensure all functions and variables are defined before use.
- Database Errors: Verify that your database queries are correct and that you’re using prepared statements.
Deployment and Maintenance
Preparing for Deployment
Before deploying your plugin, ensure it’s well-documented and version-controlled. Provide clear instructions for installation and usage.
Ongoing Maintenance
Keep your plugin updated to ensure compatibility with new WordPress releases. Address user feedback promptly and fix any bugs that arise.
Conclusion
Custom WordPress plugins offer a powerful way to enhance your website’s functionality, tailored precisely to your needs. Whether you’re looking to streamline workflows, improve user experience, or add unique features, custom plugins are the way to go. If you have a specific requirement that off-the-shelf plugins can’t meet, consider developing a custom solution.
Additional Resources
Links and References
Contact Information
For custom WordPress plugin development, feel free to get in touch. We specialize in creating tailored solutions to meet your unique needs.